![]()

Mastering Sewing Techniques for Tilda Dolls
Sewing is the core skill in Tilda doll making. Whether you’re stitching by hand or using a machine, mastering basic and advanced techniques ensures your dolls are both durable and beautifully finished. Developing precision and consistency takes practice, but it is extremely rewarding.
Hand-Stitching Essentials
Hand-stitching allows more control, especially for small details. Learn basic stitches such as running stitch, backstitch, and whipstitch. Each stitch serves a different purpose, from assembling body parts to attaching delicate clothing or accessories. Practice these techniques on scrap fabric before working on your doll.
Using a Sewing Machine
A sewing machine speeds up the process, especially for larger pieces or repetitive tasks. Adjust the stitch length and tension according to the fabric type. Always test on scraps first to avoid mistakes and ensure neat seams.
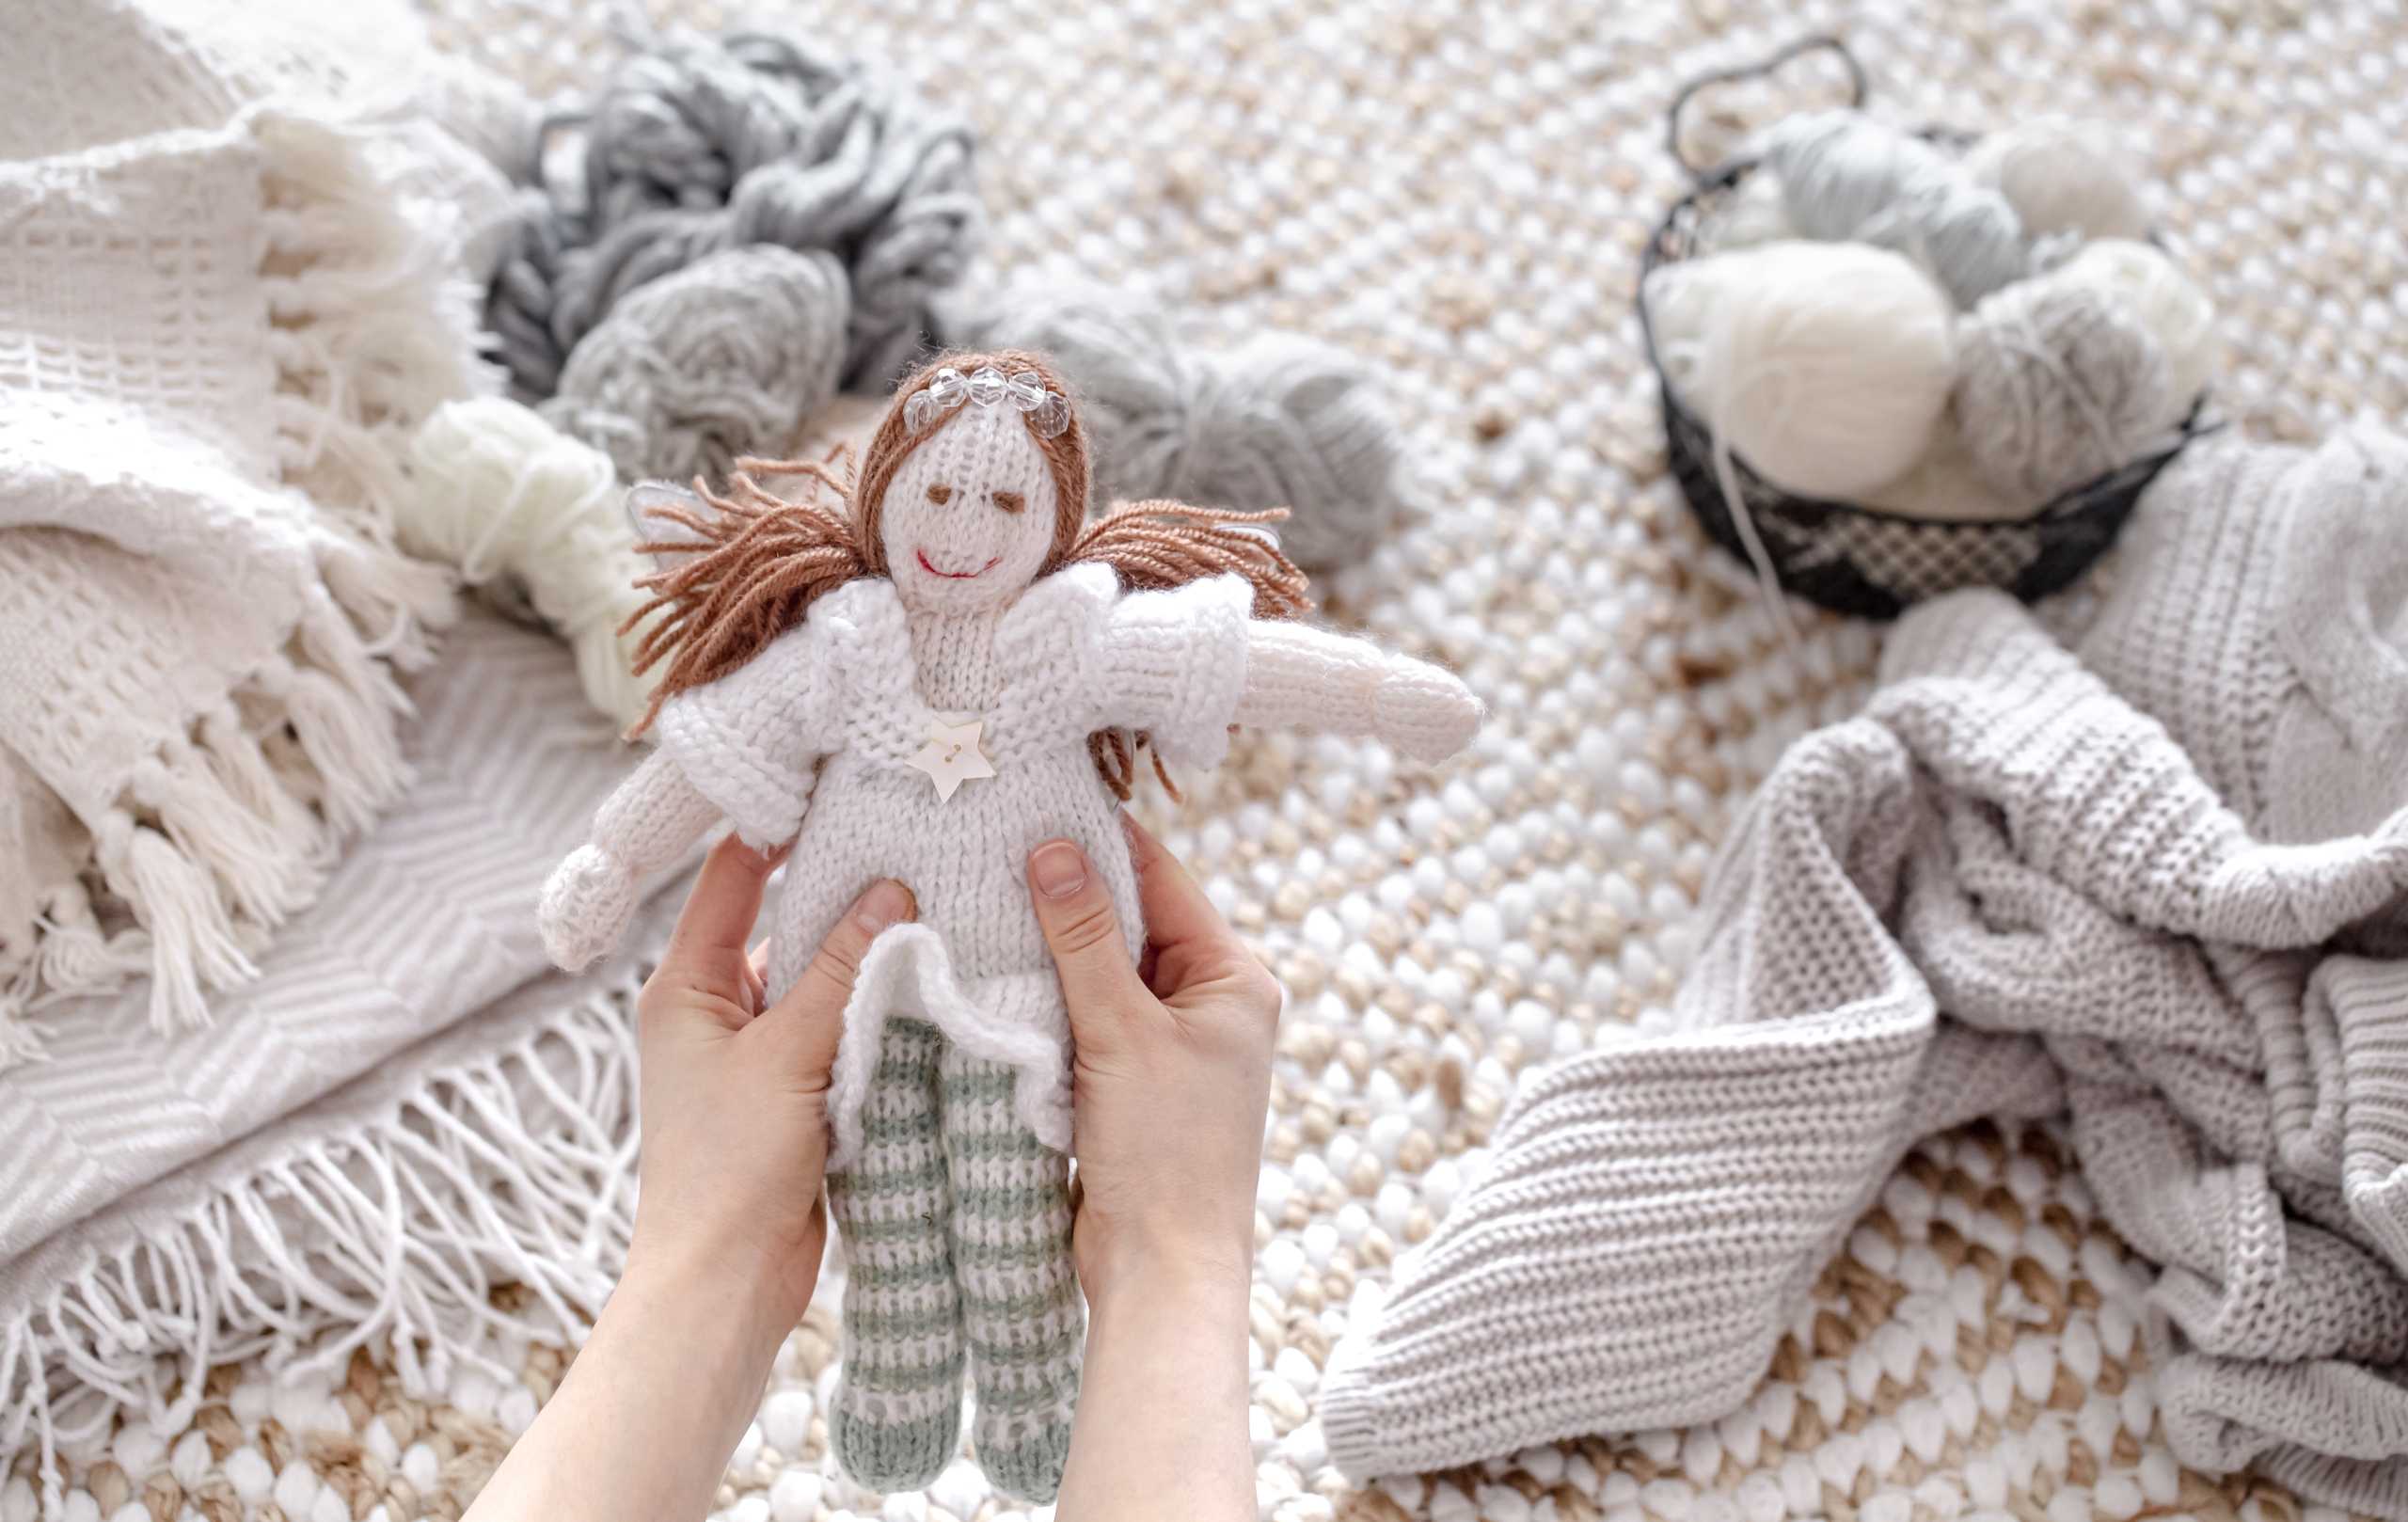
Attention to Detail
Small elements, like evenly stuffed limbs, symmetrical features, and clean seam lines, significantly improve your doll’s final appearance. Take your time with every stitch; precision makes even simple dolls look professional and polished.
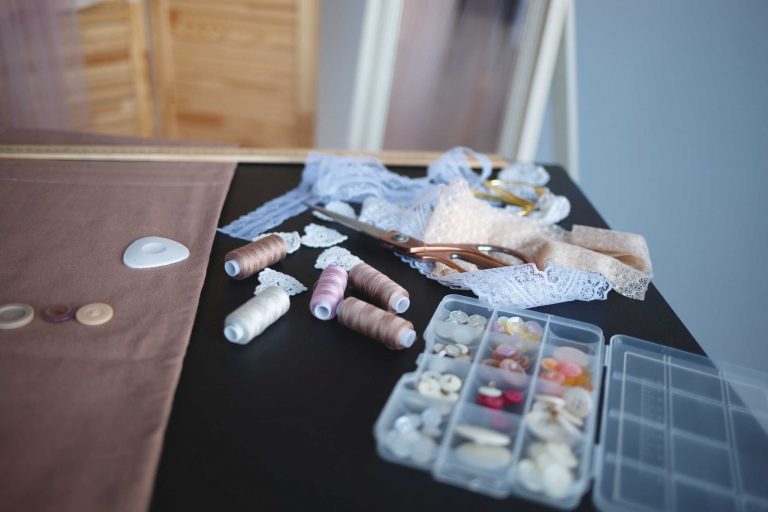
Tips for Smooth Workflow
Organize your workspace with all necessary tools, including needles, scissors, pins, and thread. Following a step-by-step sequence, such as assembling body parts before clothing, reduces mistakes and enhances efficiency.
Conclusion
Mastering sewing techniques transforms Tilda doll making from a simple craft into an art. Consistent practice, attention to detail, and careful execution produce dolls that are charming, durable, and uniquely expressive.